
Sri Lanka was definitely the most surprisingly beautiful country I’ve traveled to so far. I arrived in Sri Lanka with little to no expectations. This was mostly because I didn’t have the time to do much research and arrived a week early. While I had no set plans, I was lucky to have a brief itinerary from a couple I had met in Australia who spent a few weeks in Sri Lanka. Once I arrived to my first hostel, I had a look at what they suggested doing. That really came in handy when trying to figure out what I wanted to see and do. So without further adieu, here is my suggested Sri Lanka two week backpacking itinerary and budget!
DAY 1 – COLOMBO:


Land in Colombo at night (most cheap flights arrive at 10 pm local time). Get a SIM card from the airport if it’s necessary but if not wait till the next day to get it elsewhere. I got my SIM card from the Dialog at the airport and paid $10 Canadian for 9GB. It seemed like a great deal at the time, except for the fact that I was scammed and they put no data on the SIM card. I was too tired to realise that on the receipt it showed that nothing was added. Ultimately I had to go to a local telecommunications store in Colombo to get everything sorted out and pay another $15 Canadian (2000 Rupees – LKR) for a new SIM card. If you end up getting one from the airport make sure to check your receipt!
Upon landing in Colombo I also booked a dorm room at Bunkyard Hostels. It was a really cute place and I had great smoothie bowl that only set me back about 450 LKR. I soon found out that 450 is quite expensive for food in Sri Lanka but I’ll get into that later.
I personally saw no reason to stay in Colombo. From what I heard from other backpackers, there wasn’t much to do. On top of that, there were other places I preferred to spend my limited time. So I decided to be on the move the next day!
DAY 2 – COLOMBO – KANDY:
During my second day in Sri Lanka I came to learn that there’s a common loop people do when they backpack through the country. Most people will start in Colombo and either go up to Kandy, through Ella and circle back to Colombo or the same route in reverse. After meeting an Australian guy from my hostel, I decided to follow him to Kandy since he was going that day. We took a tuk tuk from the hostel to the train station and then a 3.5 hour train to Kandy for only 400 LKR each!

We just bought second class unreserved seats for the train and let me tell you … it was a wild ride. The train was so fully packed that it was almost hard to breathe, especially with it being 33 degrees and humid. We stood for 1.5/2 hours and finally enough people got off which allowed us to sit by the side of the door. Once we had more room it was definitely a much more enjoyable experience!
After arriving in Kandy, we hopped in a tuk tuk and got to Kandy City View Hostel. This hostel wasn’t fantastic to be completely honest. It was quite dirty and if you can pre-book a hostel for Kandy I’d try staying somewhere else.
DAY 3 – KANDY:
Spend at least 1 full day exploring Kandy. I heard about the botanical gardens and wasn’t that thrilled by the thought of them at first. My opinion changed when someone mentioned you can see wild monkeys there! I took a local bus from Kandy to Peradeniya for 40 LKR each way. It was a bit of a struggle to find where to get on the bus, but a friendly local was nice enough to show us the way. I’ve found all the locals in Sri Lanka to be very kind and willing to show you around so don’t be afraid to ask!


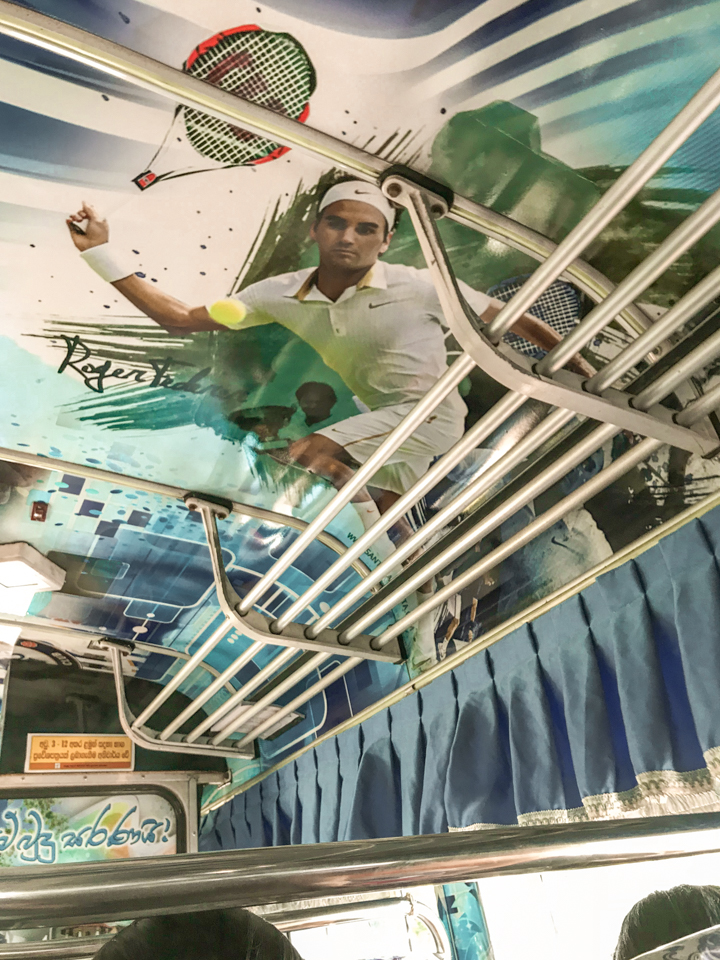
I’d definitely suggest using the public transportation if you can because you’ll save heaps of money. You’ll also have an experience second to none! Most of the busses are decorated with bright colours and designs along the interior, loud music playing and even a TV screen.
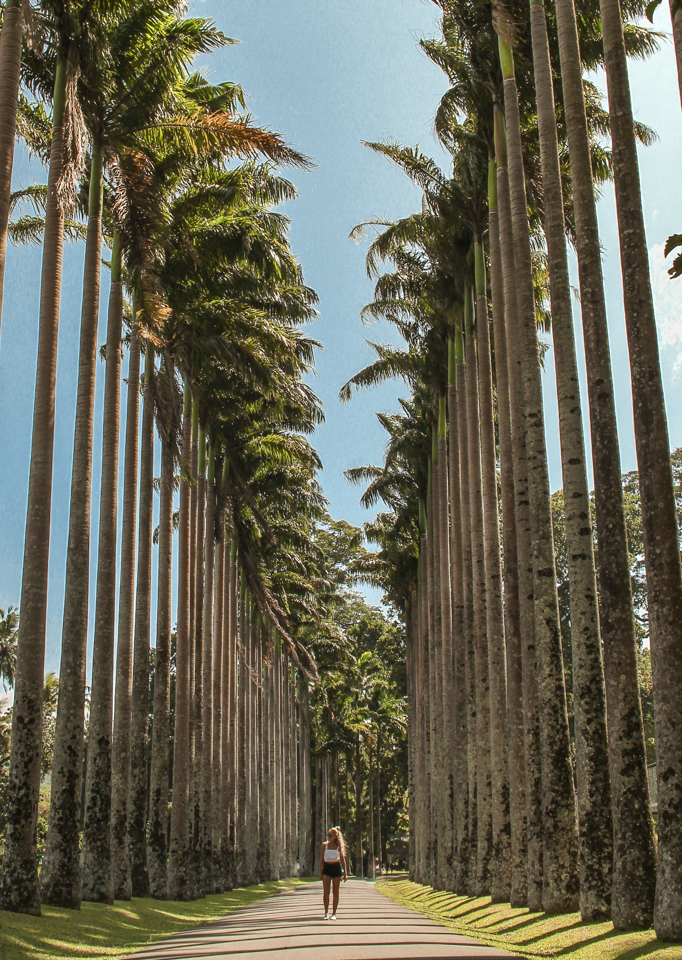
There is an entrance fee of 1500 LKR for tourists at the Peradeniya Botanical Gardens but it’s definitely worth it. You’ll definitely see monkeys and be able to get quite close to them and the gardens themselves are also very beautiful. If you’re palm tree obsessed like I am, these gardens are the perfect spot for you! You can easily spend a few hours walking around on a nice day.
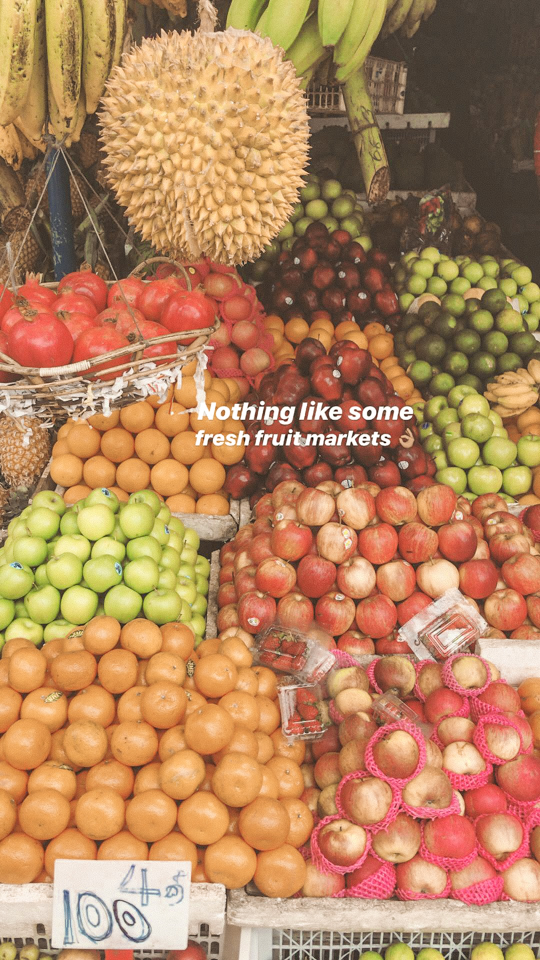
After finishing up at the gardens, I’d suggest going to local fruit markets. Everything is super fresh and the vendors will let you try all the fruits you’ve never seen before! Can’t get much better than that.
DAY 4 – KANDY – ELLA:
If you’re really enjoying Kandy, there are some other things you can do for an additional day such as visiting temples and the Big Buddha. I personally opted to skip out on an extra day there. Instead I was excited to take the infamous train from Kandy to Ella. Known as the most scenic train ride in the world, I knew that I had to get tickets.
The journey
(Read my Kandy to Ella train: Do’s & Don’ts here!)
After speaking to other backpackers about how to go about securing a spot on the train, I found out that if you get on early at Peradeniya station you’re more likely to have a better place. Unfortunately, more and more people have discovered this secret so it may not be of use for too much longer. But it’s worth a try!
I simply shared a tuk tuk with someone to the station and it only cost 300 LKR for the entire 8 hour journey. If you know your schedule ahead of time you can book tickets in advance online. Keep in mind that they book up weeks to months ahead of time. I’d also recommend making sure that you have various layers with you because the temperature changes as the elevation changes. In terms of seating, if you’re unable to get a seat (like I was), make sure to stay by the door by any and all means! When people get on and off just pin yourself against the wall or get off and get right back on in the same spot. This is crucial because otherwise you’ll be standing for the entire journey. At least if you’re by the door you can lean out the window and see the sights or sit on the edge!


When it comes to food, there are many vendors that come by as the train starts and stops at different stations. I bought some seasoned nuts for about 100 LKR and I had fruits I had gotten the day prior in Kandy.


Once arriving at Ella, I stayed at Ella City Reach Hostel and had a great experience there! The local was perfect, the only downfall is that you have to walk a minute or two up a steep hill.
DAY 5 – ELLA:
There’s a lot you can do in Ella. I had two full days which I found to be enough but I wouldn’t have minded staying an extra day honestly. The first day was jammed packed with all of the typical touristy stuff you would expect for Ella.
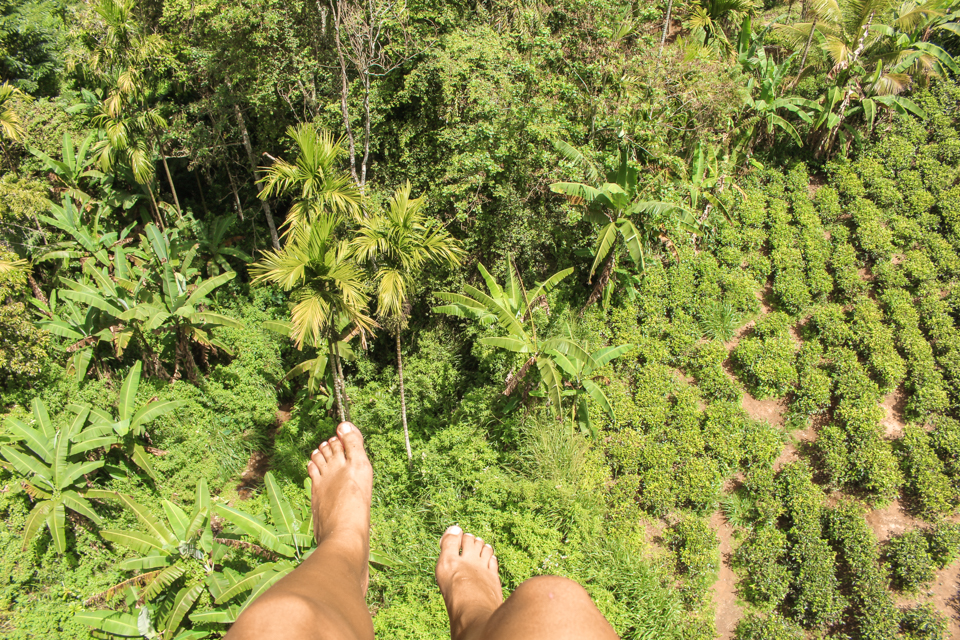
The day began with a walk to the Nine Arch Bridge lookout and then we ventured down the pathway to the railroad and weaved through the tea plantations below the bridge. It was so beautiful but a bit of the magic was lost by how many other tourists were there by time we left at midday. I’d suggest going earlier in the morning if you can! I was lucky enough to see one of the trains go past on the railroad after learning they only go a few times a day. I caught it at approximately 11:45 am.


On the walk back from Nine Arch Bridge we saw more monkeys along the trail! It was such a crazy experience because that’s not something Canadian’s see too often! After getting some lunch I ventured over to Little Adam’s Peak. The hike wasn’t too challenging and took about 2 hours return and going at a slow pace and stopping throughout. At the top of Little Adam’s Peak we also came across a litter of puppies!


To end the perfect day in Ella, I got drinks at a local bar with a Swiss girl I had been traveling with. The bars are really cute in Ella with bean bag chairs and colourful lights scattered throughout.
DAY 6 – ELLA:

If you plan to have another day in Ella, it’s worth going to Diyaluma Waterfalls. It was a bit of a hassle to get there, I’m not going to lie. I went with a guy I had met earlier that week and paid 3500 LKR each to get a tuk tuk ride to the falls. Once we got there we paid 1000 LKR (from memory) for a guide who took us along the trail.
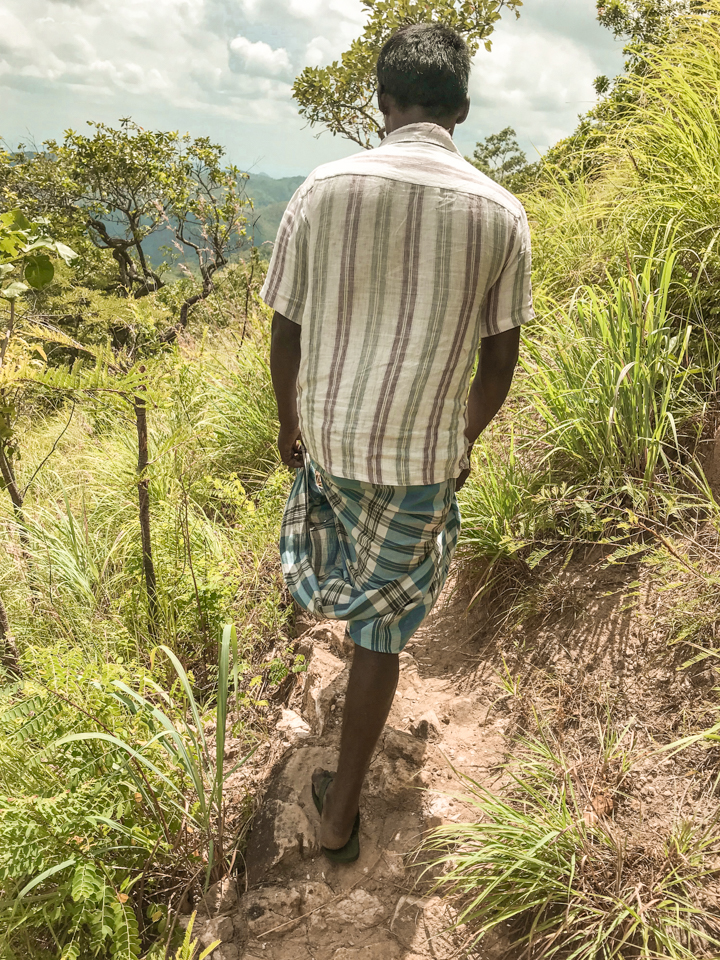
I’d definitely recommend getting a guide because there are many different areas and sections to the waterfalls. If you go it on your own you may waste a lot of time trying to find them.
DAY 7 – ELLA – UDAWALAWE:
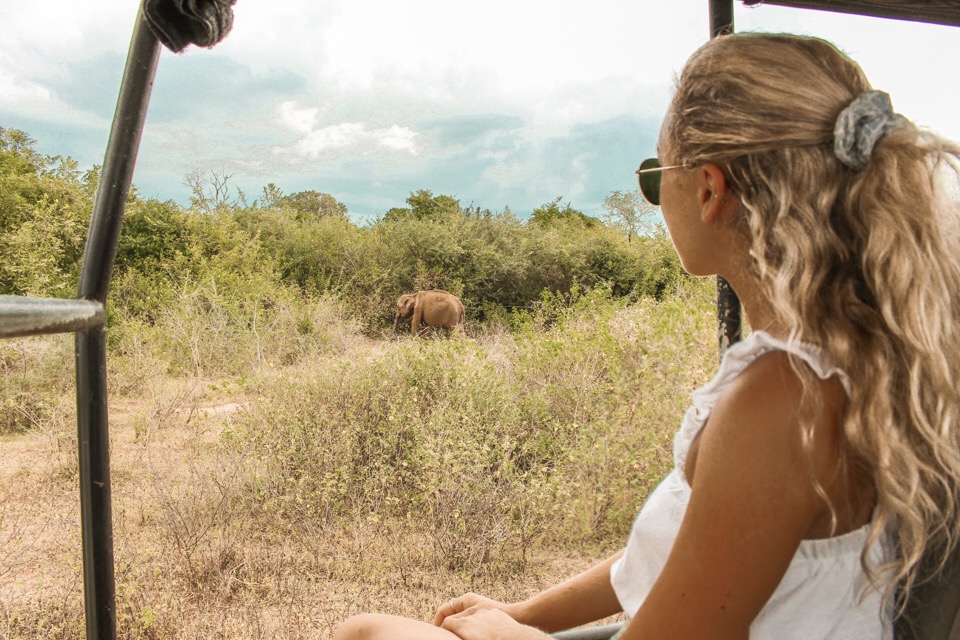
From Ella there are many places you can go. I knew that I wanted to experience a safari while I was in Sri Lanka and heard the one at Udawalawe National Park was great. Sadly, I made the mistake of going midday and then continuing to drive down to Tangalle. It was still a good experience and I got to see some elephants up close. With that being said, I heard that it’s best to stay close to the national park. That way you can wake up early to do the 6 am safari and see more animals.


When it comes to getting to the safari, I ended up sharing a taxi with the same guy I went to the waterfalls with. It was a bit of a scam and they charged us more than the price that was agreed upon beforehand so just be a little weary of that.
DAY 8 – SAFARI – MIRISSA:
Wake up early and do the safari at Udawalawe. You can also check out the safari at Yala National Park which is supposedly great as well!
After the safari, make your way down to Mirissa. The journey should take a few hours and there are options with public transportation, but it will just take longer and be less convenient.
If you’re staying in Mirissa, there are heaps of hostels to choose from. I chose to stay at JJ’s Hostel because I knew someone who was working there and it had AMAZING reviews. I loved this hostel so much that I extended my stay from 2 nights to a full week!
DAY 9 – MIRISSA – COCONUT HILL:


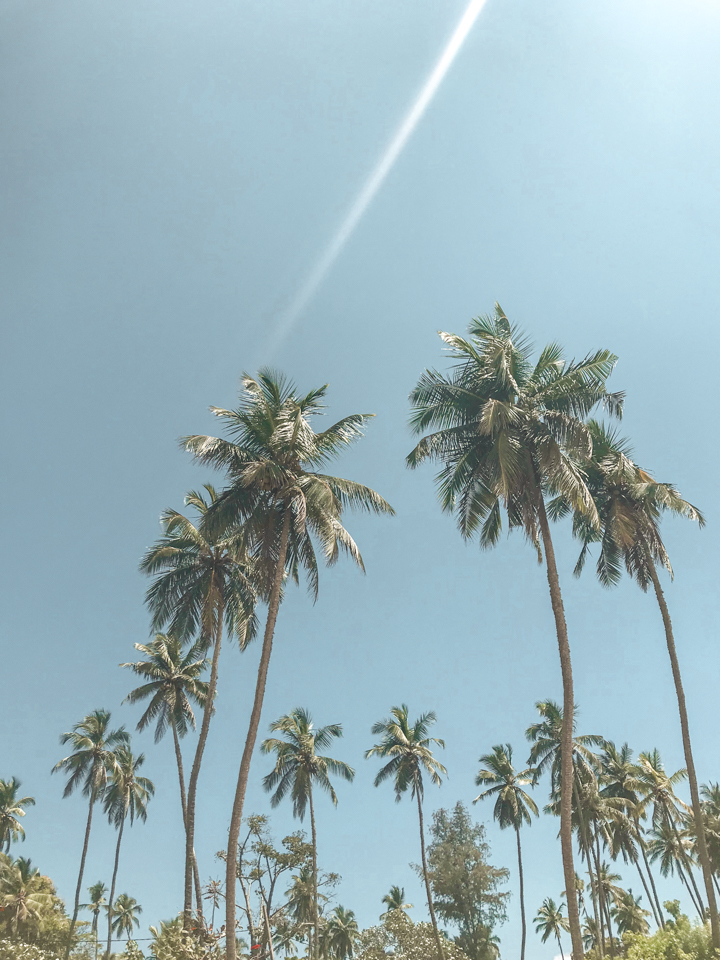
Mirissa has a lot to offer, especially if you love the beach as much as I do! Start your day by wandering down to Coconut Hill. This spot is absolutely beautiful and has spectacular views, that is before all the other tourists arrive. I went around 9:30/10 am and there were only a few other people there!
After hanging out among all the beautiful palm trees at Coconut Hill, I’d go back to Mirissa beach and spend the rest of the day there. You can see some beautiful sunsets from that beach and there are lots of restaurants to choose from as well. Do keep in mind that the food along the beach is much more expensive – aka, not very backpacker friendly. You can easily spend around 2000 LKR on meals for a day if you’re eating at those spots.
DAY 10 – MIRISSA – GALLE & DALAWELLA:
A great thing about staying in Mirissa for a few nights is that you can easily do day trips to nearby places! I heard that Galle was a must see so I took the local bus with a Russian girl I had met in the hostel. It was another beautifully decorated bus and I ended up making a friend with a local on the ride there.
Once we got to Galle we just walked through the streets of the Old Dutch Colony and took pictures and went into various souvenir shops. On the way back to Mirissa, we stopped in Dalawella to find the rope swing that hangs off the palm tree. You have to pay for 3 swings (500 LKR if I remember correctly), but it’s worth it in my opinion! It was a lot of fun and cool photo opportunity. We caught a bus back and the total journey only cost a total of 155 LKR! When taking the busses, it’s important to note that the prices change depending on who is collecting money and they charge tourists more. You can somewhat avoid this issue if you have an idea of the price ahead of time and have the cash ready to go. They won’t fight you too hard.


Another thing to note about the busses are how crazy the drivers are. They’re not afraid to honk almost every second and they’ll barely stop when you try to get off. They simply slow down and usher you off as quickly as they can!
DAY 11 – MIRISSA – OTHER LOCAL BEACHES:


There are countless beaches just a short bus ride away from Mirissa! Check out a new one if you’re getting bored of the nearest one. Just be aware that some beaches can be more rocky and dangerous to swim at!
DAY 12 – MIRISSA – SECRET BEACH:
Secret Beach is sadly no longer much of a secret, but that doesn’t mean it’s not worth going to! It takes about half an hour to walk there from Mirissa and it quite small and secluded.
The only downfall to this beach was the coconut that came flying at my new friend’s head while she was tanning!

DAY 13 – MIRISSA – MIRISSA BEACH:
If you’re happy with being by the beach, I’d take another beach day at Mirissa beach. Otherwise, you can look for more excursions nearby or try some new food.
Speaking of food, I’ll fill you in on my favourite Western and local restaurants in the area. If you want a good Western brunch, Shady Lane is the place for you. They have some of the best avocado toast and smoothie bowls!


If you’re after more local food, let me introduce you to my FAVOURITE Sri Lankan food … Kottu. How does one describe this magical dish that dances among your taste buds and makes your heart feel full? Well simply put it’s chopped up Roti (another favourite & essentially a flatbread) with veggies and a spicy sauce. You can add egg or meat to the dish but as a vegetarian I found it to be amazing just as a veggie Kottu. I practically lived off of Kottu after discovering it in Kandy. OH and did I mention that this dish will only set you back 300-400 LKR?! Words cannot express how much I miss the Kottu.

Get your fill of the best Kottu at No. 1 Dewmini Roti Shop or Ambrosia!
DAY 14 – MIRISSA – COLOMBO AIRPORT:


Getting from Mirissa to the airport is pretty straightforward. You need to take a bus or tuk tuk to Matara station. From there you get on a coach bus that drops you off at the airport. I paid 600 LKR for the tuk tuk to Matara because I couldn’t be bothered carrying all of my stuff on the bus. Make sure you don’t pay more than 600 because the drivers will try to charge you 1000 LKR. I simply told them all I had was 600 to get me to the airport and after a few minutes they gave in. The bus itself was 740 LKR to get to the airport and it will say Matara to Negombo (airport) on the bus itself.
All in all it was probably the cheapest airport transfer I’ve done but with that being said, it wasn’t the most pleasant experience. I arrived at the bus station around 11 because I was told it leaves when it’s full which is anytime between 12 and 2pm. Then it took about 3-4 hours to get to the airport. There usually is air conditioning on these coach busses but it happened to break during my journey. It was rather unfortunate while sitting crammed on a bus in humid weather.
CONSIDERATIONS & OTHER INFO:


Itinerary
Of course what you choose to do in Sri Lanka is up to you, but the way I structured this itinerary gives you the best of both worlds when it comes to the mountains/wildlife and the beaches in Sri Lanka. This beautiful country is truly what you make of it!
Budget
I also stuck to a very tight budget as Sri Lanka was the last country on my list after traveling for 10 weeks in total. If you have additional money, I definitely think that hiring a driver or if you’re traveling with people for longer distances. I’d still try out the local trains and buses because you won’t experience anything like it!
If you’re working with an even tighter budget than mine, no need to worry! There are many ways you can spend even less in Sri Lanka such as doing a WorkAway to get free accommodation. You can also make sure to only buying local food and skip out on big ticket items such as the safari’s and other more pricey activities.
Well that’s it for now folks! If you made it to the end, congratulations and thank you for coming to my TedTalk on backpacking in Sri Lanka.
If you have any questions leave a comment below or reach out to me on Instagram, Facebook or Twitter. It also may be useful to check out my highlights on Instagram for a full Sri Lanka recap.
Happy travels!
Cheers,
Amy xx
5 thoughts on “Sri Lanka Backpacking Itinerary (Two Weeks)”