I’ll admit that a lot of my great travel photos are taken with my Canon DSLR camera BUT there are many drawbacks that come to taking it with me. Besides it taking great quality photos, it’s somewhat heavy and rather large so a lot of the time I end up taking photos on my iPhone 7 Plus. After seeing the response to some of those shots, I decided to hit you with some of my best iPhone travel photography tips. These hacks might make you think twice before lugging around your big camera next time you’re travelling!
1. Learn about the rule of thirds
If you’re like me and do a lot of solo travel or find your friends aren’t great at getting pictures for you, it’s time to learn about the rule of thirds. Any photo should be broken down into 9 equal parts in a grid. The idea behind the rule is to have the point of interest within or along the lines.
This iPhone travel photography hack is easier than ever if you enable the grid function on your camera. This makes instructing strangers/friends to take a photo for you foolproof. Simply explain how you would like to be positioned within the grid and go from there!
2. Start using live photos
I’ve said it before and I’ll say it again, ALWAYS use live photos! Have you ever taken a picture and looked back and wondered what you could’ve done to capture that moment a second or two earlier? Using live photos is one of the best iPhone travel photography features I came across. It’s seriously a game changer when it comes to capturing movement.
Check out my post on solo travel photo tips for more on live photos!
3. Buy a waterproof case
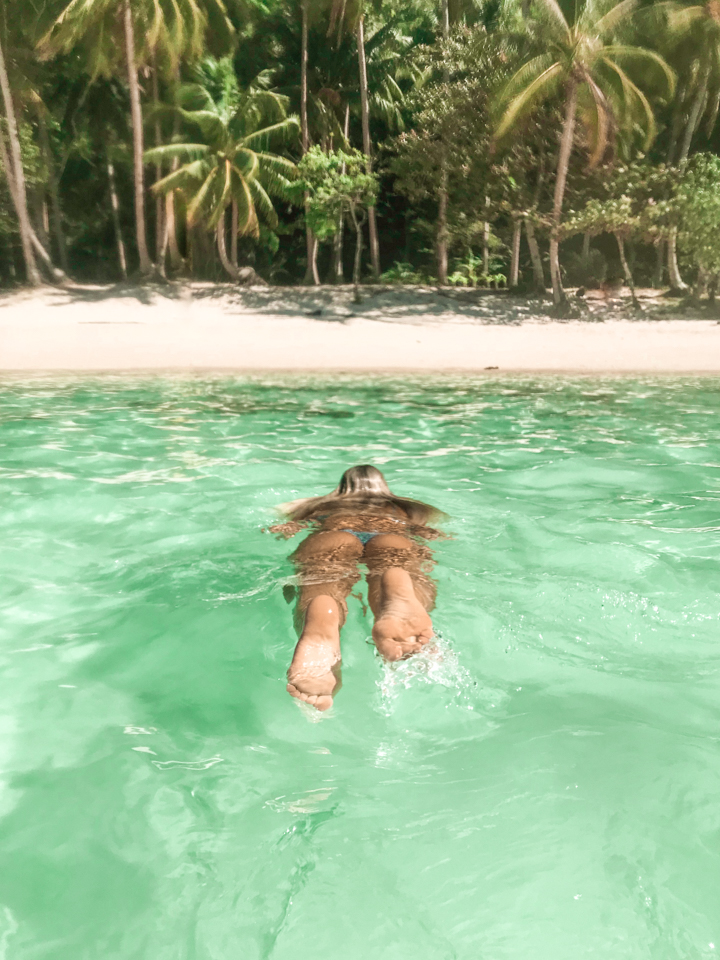
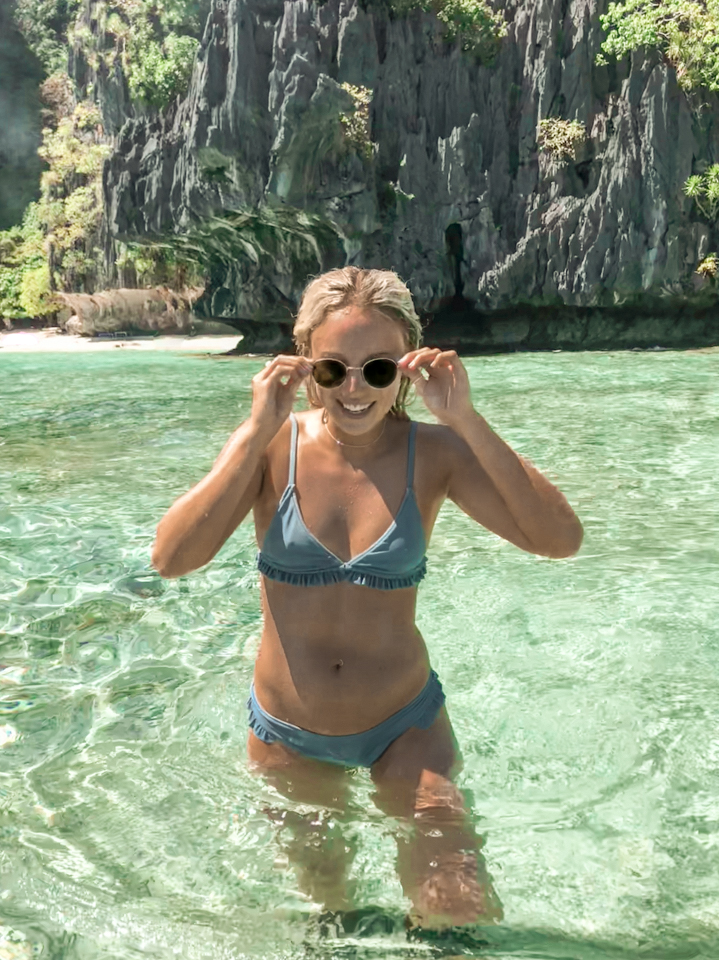
Getting yourself a waterproof case will help you capture so many more moments, especially if you don’t have a GoPro or underwater camera. You can buy them for cheap in any Asian country or pick one up on Amazon before your next trip!
4. Use a remote control phone tripod
If you want creative control over your photos, consider getting a remote control phone tripod. I got mine from Amazon and it connects to both Androids and iPhones. This way, if you have no one to capture the photos you want, you can use the bendy legs of the tripod to attach to a tree branch, railing, your own tripod etc. Then you can use the small remote to take the photo when you’re ready instead of relying on a timer!
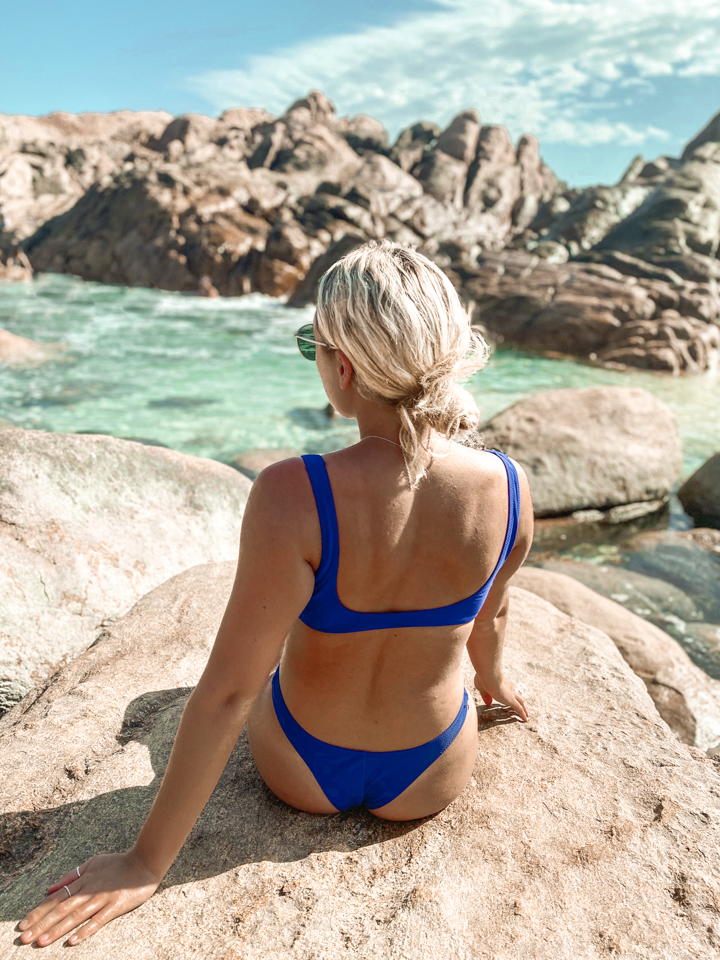
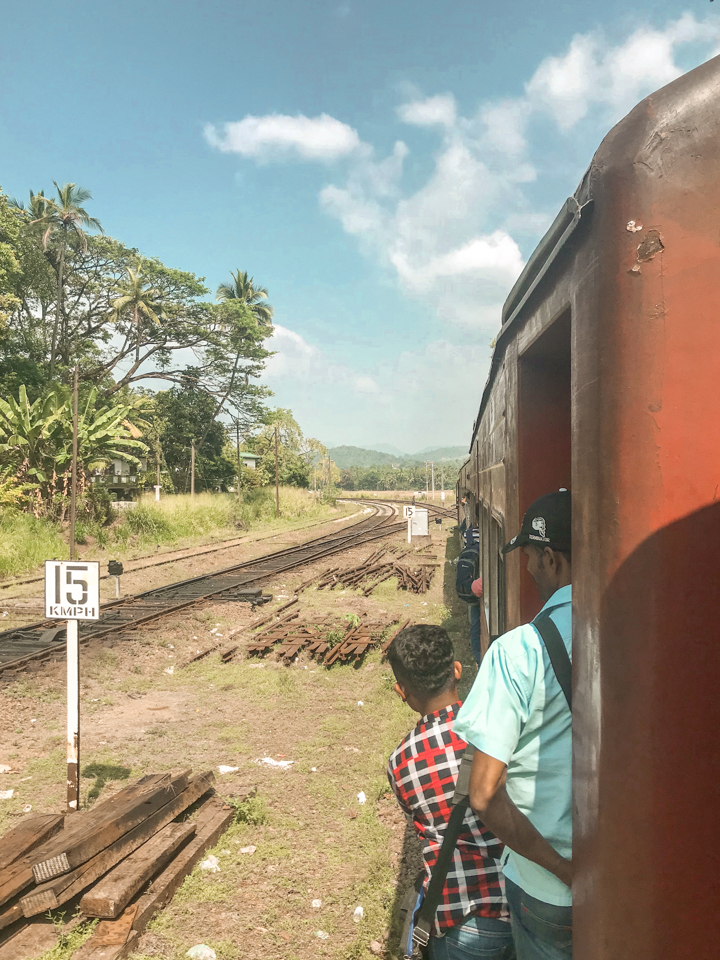
5. Shoot from a low angle
Shooting your photos from a low angle will change the feel of the photo. If there’s a person in the shot, taking the picture from a low angle will also lengthen their body, sometimes giving the appearance of longer legs and a thinner physique!
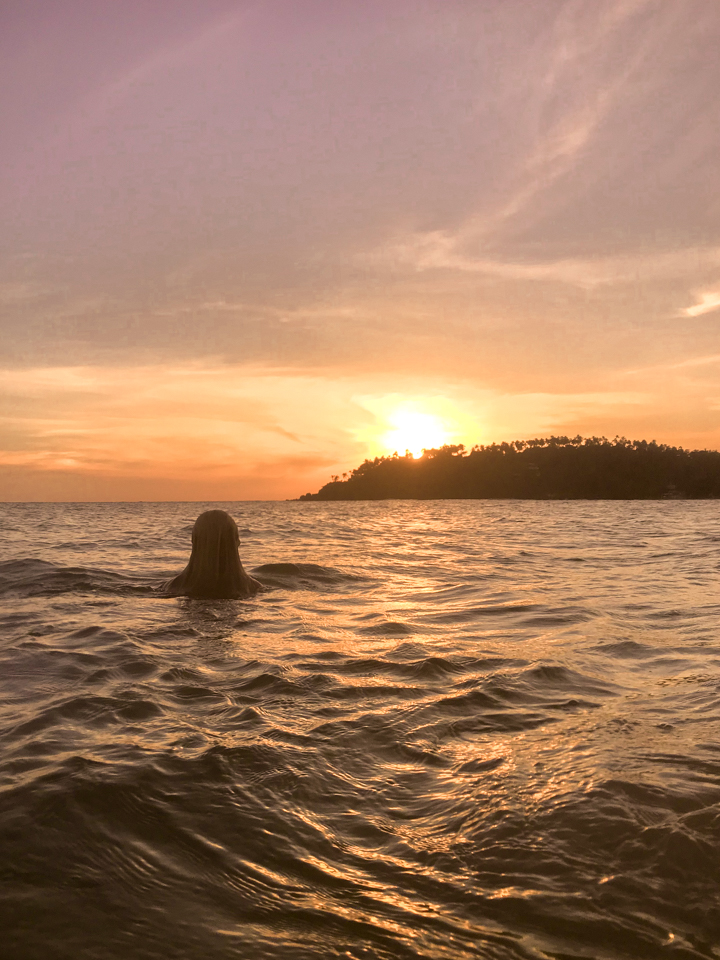
6. Shoot at golden hour

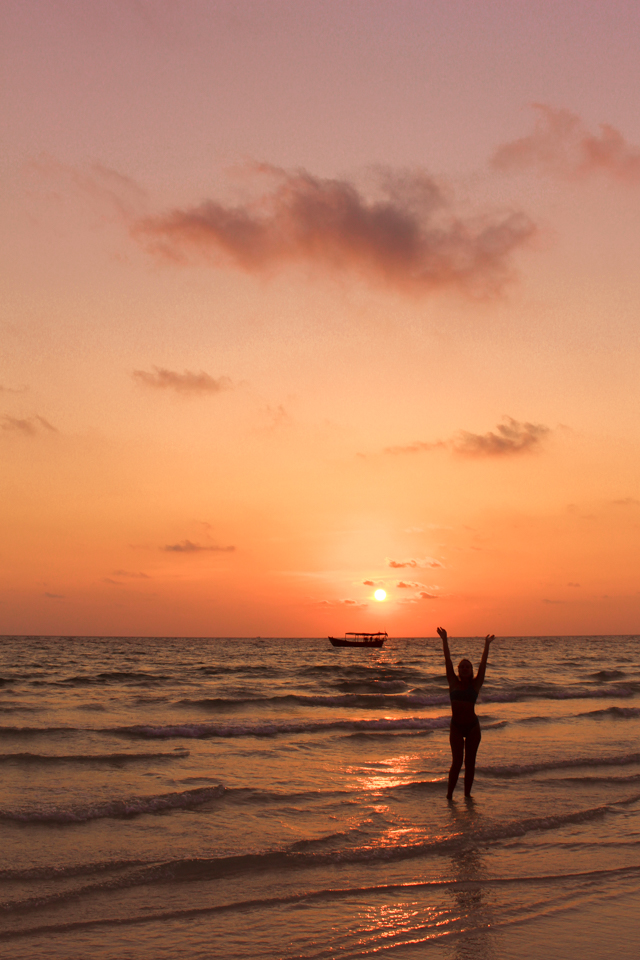
Sunrise and sunset are usually the best times to capture travel photos. You can end up with some pretty spectacular silhouettes by shooting towards the light with the subject in between the light and the camera.
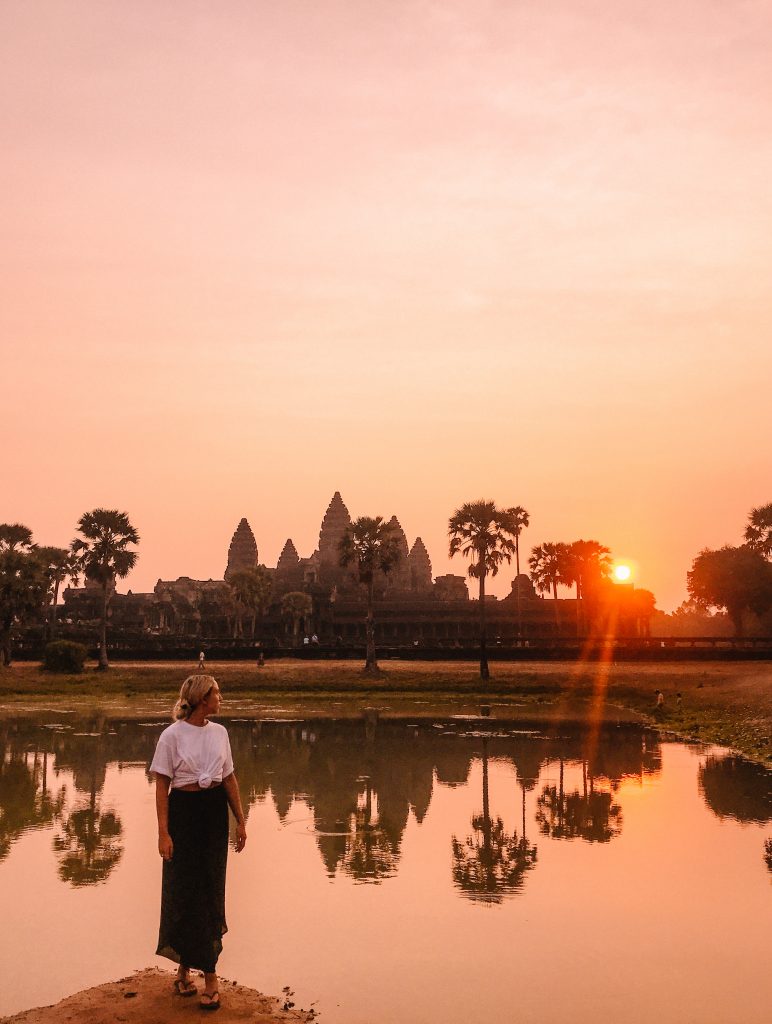
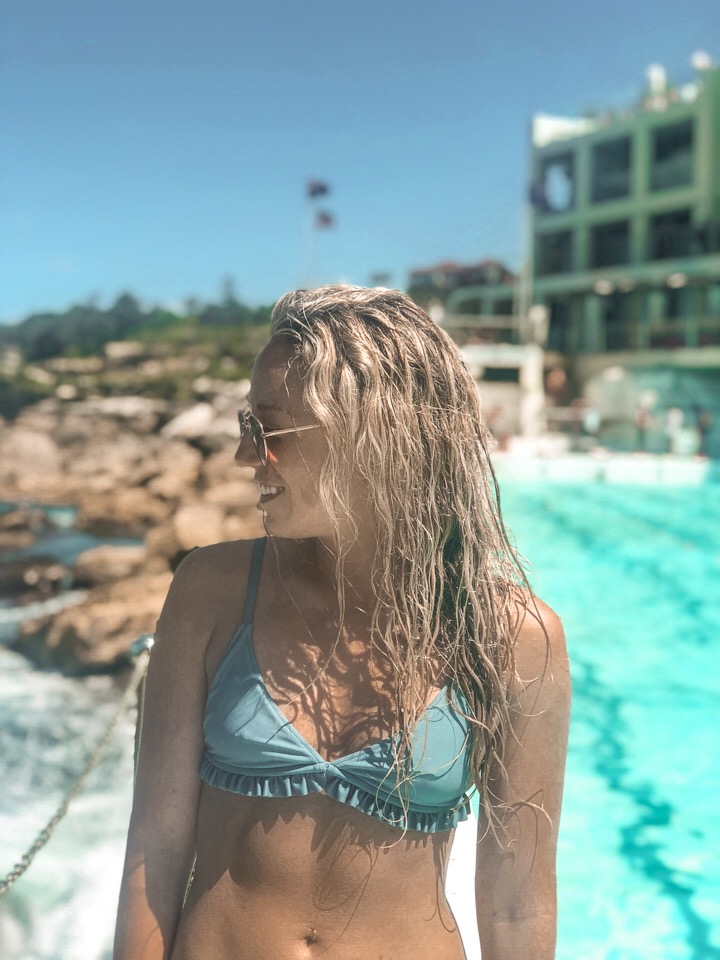
7. Work with water reflections
Don’t underestimate the use of water in your photos! Working with the reflection of light (most often during sunrise or sunset) will make your photos stand out. Scroll back up to the first photo in this post to see how the reflection of Angkor Wat in the photo during sunrise made it all the more impressive!
8. Make portrait mode your best friend
iPhone travel photography gets a whole lot easier with portrait mode! If you have a iPhone 7 Plus or newer model, you’ll be able to get close ups where the focus is on the point of interest and the background is blurred. If you don’t have a newer phone, it shouldn’t be too hard to find new friends while travelling who do. Take the photos with their camera and simply airdrop them to yourself later!
9. Switch up your panoramic
I only recently discovered this iPhone travel photography trick and can’t believe I haven’t used it before! While regular panoramic photos can look absolutely stunning, you may not always want a landscape photo, especially one that doesn’t have much height.
Try going to the panoramic feature on your phone’s camera and flip your phone sideways. Then take the photo vertically instead of horizontally. This technique works best for photos you want to post on Instagram but aren’t able to fit enough of the scenery/background into the image. For example, if you’re standing in front of a palm tree it’ll be quite difficult to get the entire tree in the photo without backing up and making the person in the photo a lot smaller. If you do a vertical panoramic you’ll be able to fit everything in perfectly!
10. Incorporate movement & different poses
Movement will make any photo look more natural! While you might turn out with a few unpleasant shots, you’re more likely to get a good one if you’re spinning, touching your hair, etc. If you’re having trouble, make sure to use live photos.
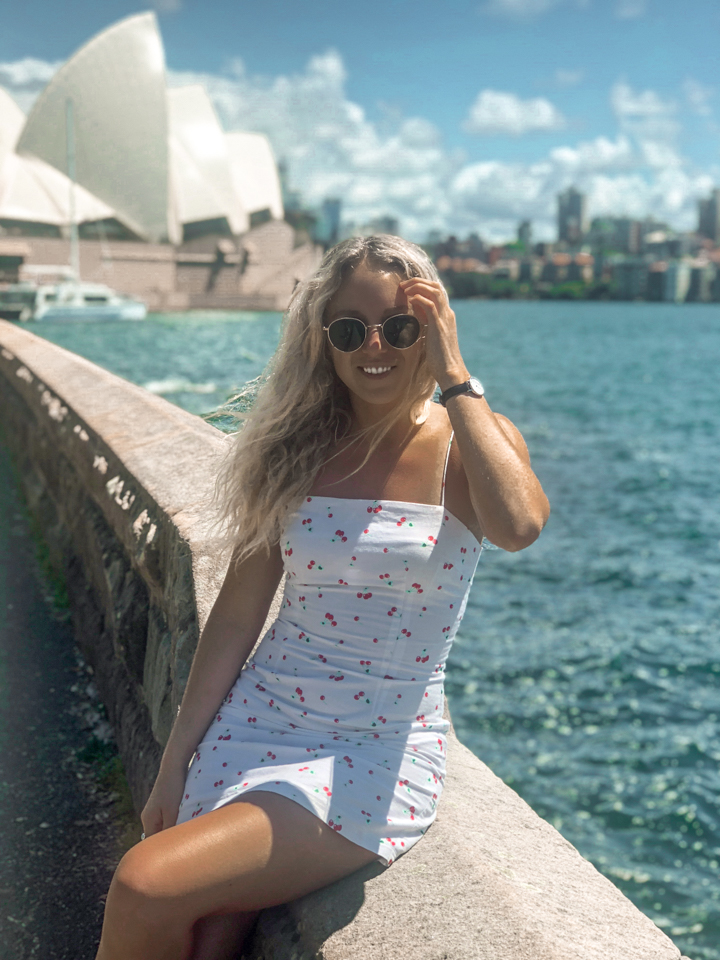
Using different poses will also help your travel photos from becoming boring. Here are a few ways you can do this:
- Put a leg forward
- Sit down (one leg crossed over the other like the photo above)
- Lay on the beach
- Put an arm up
- Fix your hair
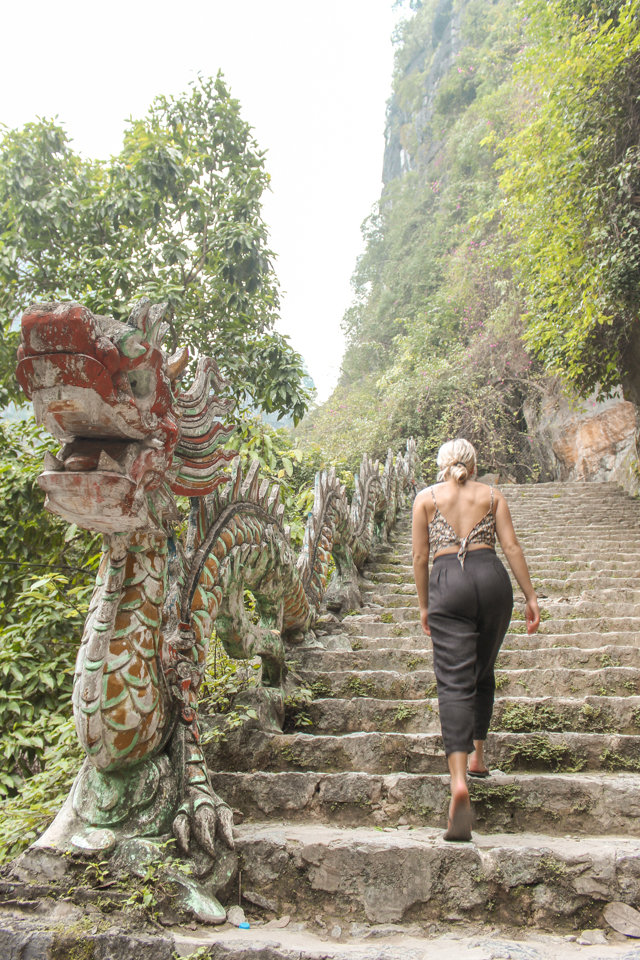
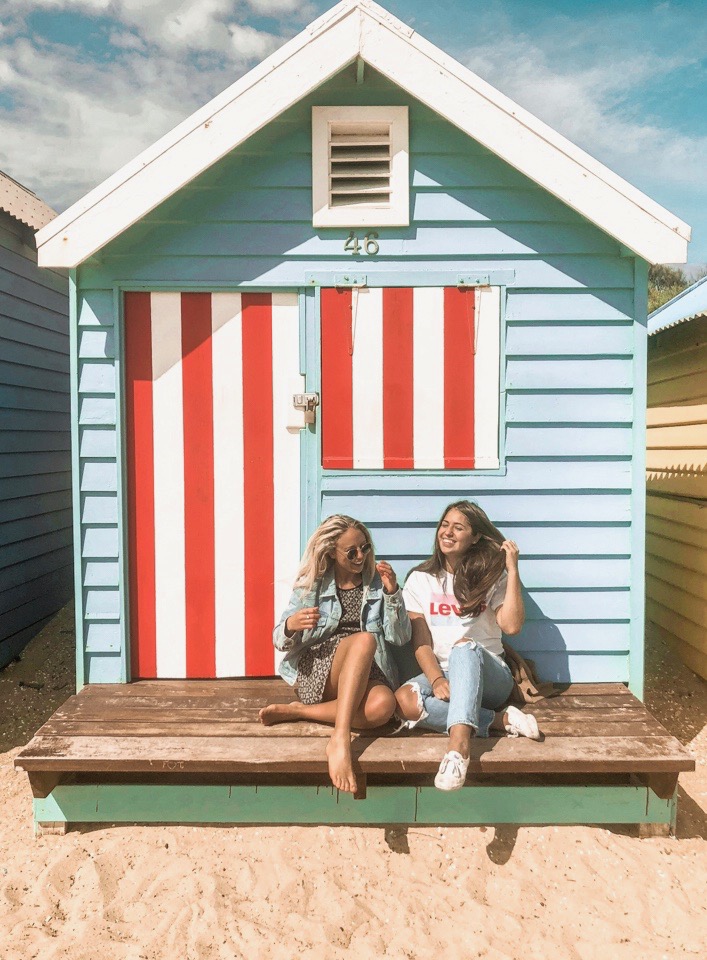
11. Avoid cliche photo opportunities
Chances are, you’re going to encounter a few ‘touristy’ spots among your travels. Try to avoid taking photos of you simply standing in front of a monument and focus on finding more unique spots/places that will stand out. Think outside the box and use the previous tips to help you be more creative!
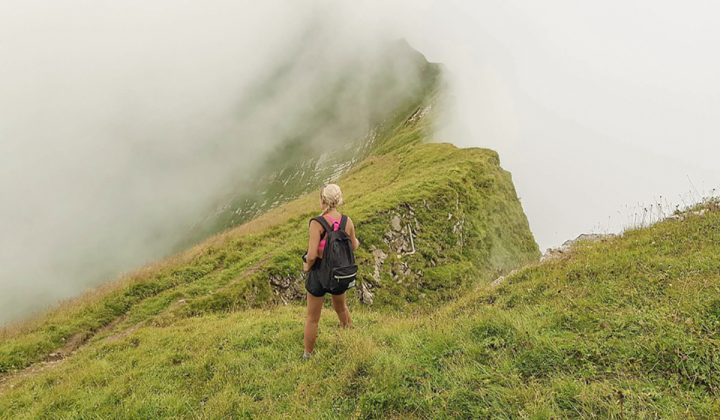
12. Utilize bad weather
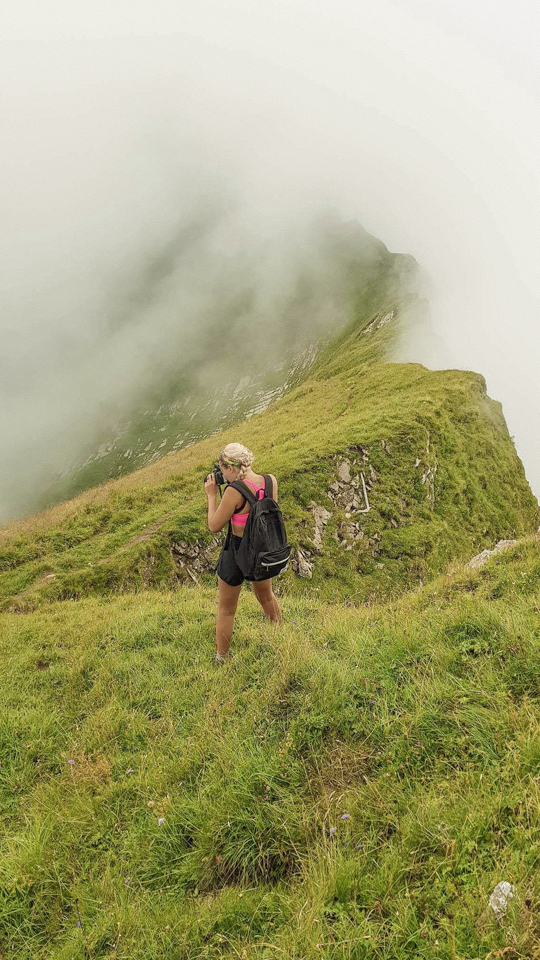

Instead of being upset about bad weather during your travels, use it to your advantage. Bad weather will help with getting more unique photos, especially fog and rain. Ask yourself what you can do differently and how you can use a certain scene to your advantage.
I was bummed when I made it to the peak of mount Pilatus in Switzerland and most of the view was obstructed by fog. As you can see from the photos above, I ended up getting some pretty cool photos either way!
13. Look for inspo
This goes for any type of travel photography but I find having inspiration for how I’d like my photos to turn out take confusion out of the equation. I typically use Instagram to search the location of the places I’ll be travelling to to get ideas for cool photo spots.
You can check out my Instagram here 😏
14. Take photos of locals
It’s not always easy to whip out a DSLR camera to quickly grab a shot of locals. I usually use my iPhone to get photos like the one above! You can also use portrait mode to get better close up photos on your phone. Just be sure to ask for their permission before.
15. Use the Lightroom mobile app (FREE)
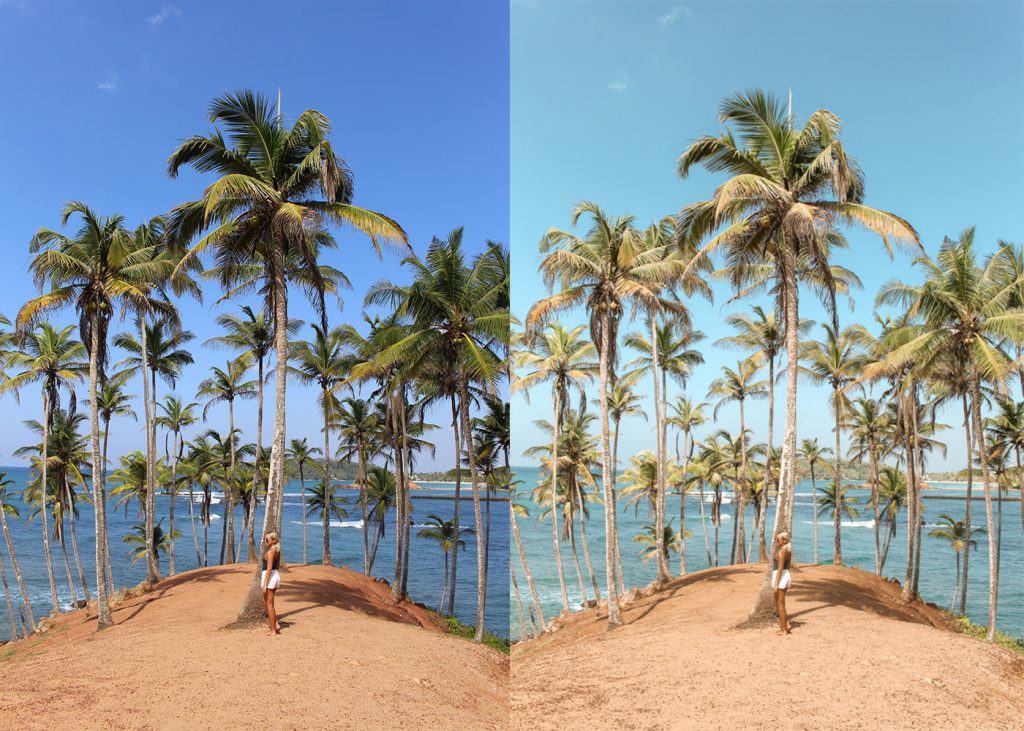
My favourite app iPhone edits is Lightroom by far! You can use it for free and find lots of presets online for cheap to help you achieve a more cohesive look throughout your Instagram/blog. PLUS, editing iPhone photos is also so much easier than importing the photos from your camera to your laptop and then editing them afterwards.
16. ALWAYS straighten your photos
You can easily align your photos when you’re editing them to ensure the background is straight. It makes your photos look much more professional! Once you’ve had enough practice with photography, you probably won’t have to make many changes because you’ll subconsciously focus on shooting with a straight horizon!
That’s about al I’ve got on iPhone travel photography hacks for now! Let me know if you know of any more in the comments below and check out the rest of my photos on Instagram.
Until next week!
Cheers,
Amy