Switzerland. A beautiful place with mountainous landscapes, lakes, waterfalls and more! It’s also home to many adventure activities so what more could you want? Unfortunately, the only downfall to travelling through the country as a backpacker is that it’s one of the most expensive places to see! Follow my Switzerland backpacking guide for budget hacks and tips for travel there without breaking the bank.
BUDGET HACKS

As previously mentioned, Switzerland can’t compare to the cheap prices you’d find in Bali, Sri Lanka, the Philippines or any Asian country for that matter. But that’s not exactly a fair comparison. It ranks as the most expensive country to travel to in Europe with Iceland (which is known for its high prices) ranking at number 6 on the list … BUT don’t let that scare you off just yet! Here are a few simple ways you can save on your trip to Switzerland:
1. Make your food in hostels
Backpacking in first world countries tend to be a little different than your typical Asia backpacking trip when it comes to food. In Asia and other parts of the world food is so cheap, so having most meals at restaurants or while you’re on the go is the norm. Most of the hostels don’t have proper kitchens in those parts of the world as well.
Europe is much different. Every hostel has a fully equipped kitchen, allowing you to stock up on groceries for however long you’ll be at a particular place. Take advantage of this because you’ll save yourself a heck of a lot of money!
Aldi is the cheapest grocery store around and there’s usually one in town. If you don’t want to make all your meals, meal prep breakfast (overnight oats are my personal fave!) or have something that’s easy to eat right when you get up. Then have either lunch or dinner out and make food for the meal you didn’t eat out. It’s all about balance after all!
2. Stay in hostels
If you’ve read any of my previous itineraries or are familiar with my travel style, you’d know that hostels are my go to for accommodation. The hostels in Switzerland are SHOCKINGLY expensive compared to all other countries I’ve been to. If you’re travelling with other people, I’d suggest looking into an Airbnb to save on costs but if you’re on your own hostels are the way to go! (How you’ll meet heaps of people).
3. Pick and choose wisely
Activities:

Activities in Switzerland are expensive and there’s no real way around it. Decide ahead of time what’s at the top of your list and what you can save for another time. For example, I knew I’d want to go hiking so I paid for gondolas or trains up the mountain (to save on the limited time I have) but they weren’t cheap!
Then I had to decide what activities I would forego such as skydiving and paragliding, seeing as they were all big ticket items as well.
Locations:
When it comes to picking locations I tend to be a tad bit of an overachiever and it ends up making a trip feel quite rushed. So with that being said, I suggest staying at a place for 2-3 days minimum and therefore only picking two spots to more thoroughly explore per week!
Not only will this help you save money on transportation but will give you a better opportunity to get to know people and the place you’re at.
DAY 1 (Zurich to Lucerne):
If you’re only in Switzerland for a week or short amount of time, I say skip Zurich. Once you’ve seen a few European cities, they all start to look the same. If you’re flying into Zurich, head right to the trains and get on a train to Lucerne. The trip should cost you around 12.50 CHF or $16.50 CAD. You can find pricing and timetables at SBB and download the app before you get there to make things even easier.
Once arriving at Lucerne explore the town! There’s many interesting shops as well as a beautiful lake where you can sit down with an ice cream cone and people watch.
DAY 2 (Lucerne – Mount Pilatus):


To me, Switzerland is all about the mountains so Day 2 consisted of a hike. I walked to the gondola station from my hostel in the town (each hostel will have pamphlets and info). It took about half an hour to get up to where you’d start the hike. If you want to save on money and have some extra time on your hands you can walk the entire thing and skip the gondola!
There are different hikes you can do with different lengths. You can find more info here.
You may luck out with clear skies but if not, don’t worry! I encountered a foggy day and still ended up getting some pretty amazing views if I say so myself.
DAY 3 (Lucerne to Interlaken):

Getting from Lucerne to Interlaken is quite simple. You will need to catch two-three trains depending on the time of day you go and the journey will take about 2-2.5 hours. You can find timetables here.
After arriving at your accommodation to drop off your things, see what there is to do around town. I opted for a hike nearby. I walked from Balmer’s hostel for about half an hour to get to the start of a hike. While I can’t remember the name of the specific one I did, it was said to take about 3 hours one way. I took the gondola down as it was dark by time I decided to leave and I was by myself!
DAY 4 (Interlaken – Schynige Platte):
After making a new friend from a nearby hostel in Interlaken we took it upon ourselves to find another hike we could do the next day. We went with someone’s recommendation – Schynige Platte.
In order to begin the hike you’ll need to make your way to the train station that will take you up the hill for about an hour. Then there are various routes you can take. Just make sure you are aware of when the last train down leaves of you’ll be stuck making your way down in the dark for 2 hours … no thank you!!
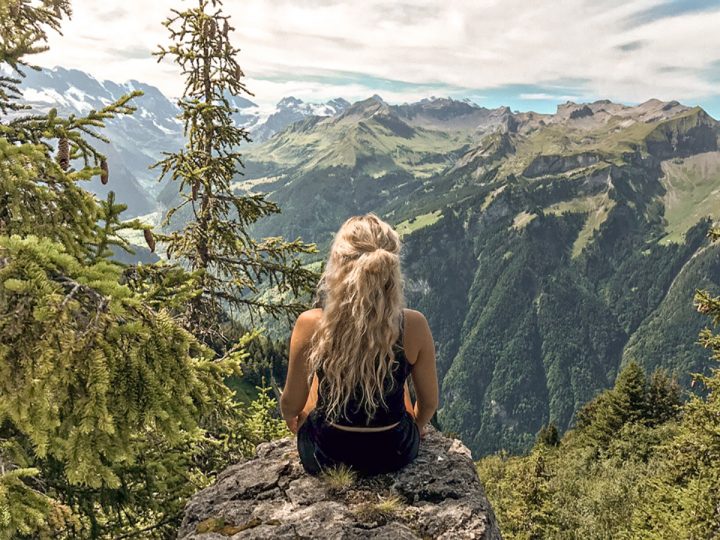
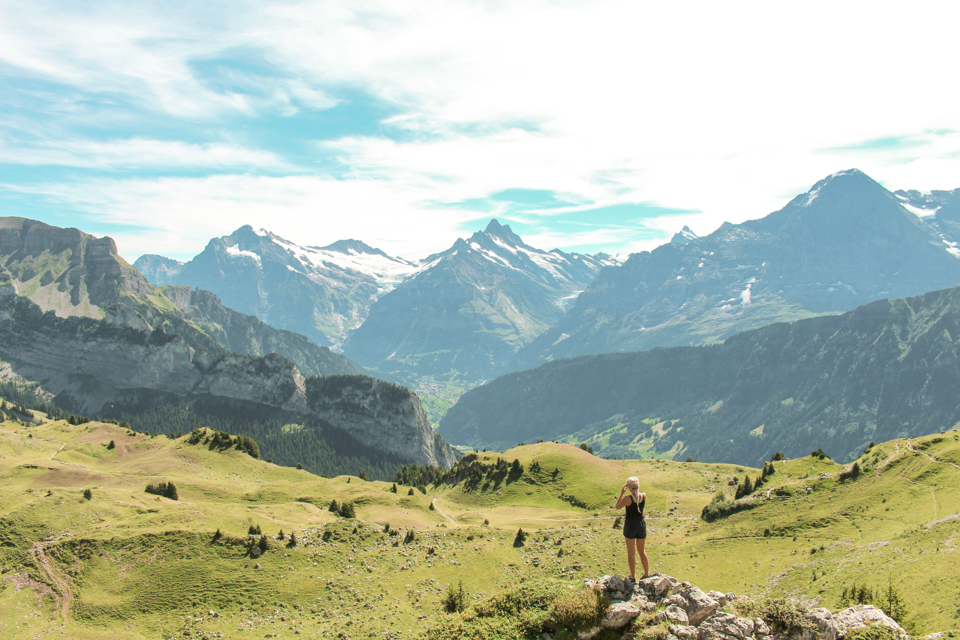
I’ve gotta say that this hike was truly the most incredible day hike, I’ve ever done! The landscape is breathtaking and unlike anything I’ve ever experienced before. You MUST add this to your Switzerland backpacking to-do list!
DAY 5 (Day trip to Lauterbrunnen):


Lauterbrunnen is only a short 30-40 minute train ride from Interlaken and a great spot to check out on a rainy day! There are waterfalls you can explore as well as a nice main street you can walk through with various shops.
Lauterbrunnen also offers many activities but they don’t come cheap, so if you’re looking to save money, I’d suggest exploring by foot with a friend!
DAY 6: (Interlaken):
Spend your last day in Interlaken doing another hike if you’re up to it or activities along the lake! Unfortunately I didn’t have the best weather so I ended up canyoning with a friend I had made. It wasn’t my top choice and was pretty pricey but it was definitely better than doing nothing all day!
DAY 7: (Interlaken to Zurich):
So to wrap things up with this Switzerland backpacking guide, you’ll want to make your way back to Zurich if that’s where you’re flying out from. You’ll need to take 2-3 trains to get there and it should take you about 2 hours!
Trip recap
Back in 2017 when I was in Switzerland backpacking I was making GoPro vids for fun. Feel free to check out the one I made with this itinerary below.
As always, if you have any questions about Switzerland or want more backpacking tips, feel free to reach out! You can follow my adventures on Instagram or find my email via my contact page.
Cheers,
Amy xx